5 Tips for Creating Your Own Wedding Stickers

Planning a wedding is supposed to be fun and exciting but if you’ve ever actually had to plan one, you know it can feel pretty overwhelming at times. Why? Because there are so many things to plan for and decisions to be made! From flowers to venues to centerpieces and stemware, the list goes on and on. And if you are a bride (or wedding planner), all you really want is to create a memorable day that you can look back on and smile.
At Stomp, we’ve worked with thousands of brides and we have found that one of the best ways to make your wedding stand out is by creating custom wedding stickers. Wait, stickers?
While stickers might not be the most obvious wedding accessory, you'd be amazed at how many ways they can be used. Additionally, they add a personalized and elegant touch you might not expect. From invitations to save-the-date cards, wedding favors and place cards, bouquets and glasses, the possibilities are endless!
To help you add that extra touch to your wedding, we’ve put together 5 helpful tips for creating the best wedding stickers.
1. Make it Personal
The best part about your wedding is that it’s yours! And while it can be easier to just pick a standard template and go with it, adding a personal touch to your wedding stickers is what will really make your wedding stand out.
Think about what you will be using your stickers for and then decide what information is important. For example, if you are simply adding stickers to your favor boxes, you can simply include a monogram and your wedding date. But if you will be using them for save the dates, you will want to include your mailing address.

You can also have a lot of fun. For example, many couples create their own wedding #hashtag – prompting guests to use that hashtag when posting about the wedding on their social media accounts!
Personalization adds a classy touch and leaves a lasting impression.
2. Pick a Theme
If you’ve ever watched any bridal show ever, you know there is a theme. There has to be a theme! And that includes your stickers – especially if you plan to use different sizes and styles. While not all stickers need to be identical, they should share similarities such as font, flowers, shape, or colors. Your theme should be cohesive across the varying sizes and shapes.
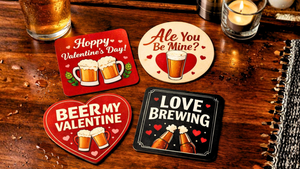
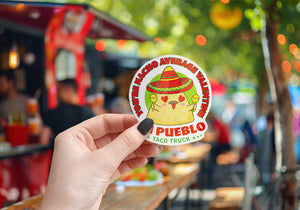
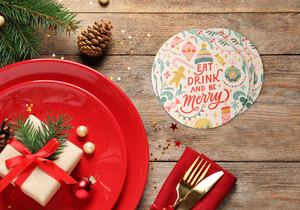
Want a non-traditional shape? Consider a custom die cut sticker. Die cut stickers are unique because they can be created into almost any shape you want – an engagement ring, a wedding bouquet, and more.

What do you notice about these? Each sticker, even with the myriad of shapes and sizes, has a similar wedding theme.
Make sure whatever colors you choose for your wedding theme, the wedding stickers you design should reflect and embrace that color scheme. Otherwise, they will look terribly out of place!
3. Keep it Simple

You can’t tell your entire love story in a sticker, so instead, choose a simple design to convey your love. Stickers are meant to be simplistic, even for weddings. For instance, if there is too much text on the sticker, it may be hard to read.
When creating your wedding sticker, keep the design in your mind but make it as simple as it can be. While it might be tempting to put a lot of details into your sticker design, simpler is often better.
4. Play With the Shape

By far, square and circle stickers are the most popular, but as mentioned above, die cut stickers are another option. Once you have a design in mind, play with the design on different shaped labels and see what works best for you. While your design might look fabulous on a square label, it may not quite work well on a circle one.
5. Use a High-Resolution Image
If you decide to include your engagement picture or background photo on the wedding sticker, make sure to use a high-resolution image for the best quality. A higher resolution image will come out more crisp and clean when printed. The wedding sticker might look fabulous on the computer screen, but using a low-resolution image could make it look blurry and pixelated when printed.

Also, consider the size and shape of the sticker when incorporating a photo as the background. While the photo might look fantastic on a larger, rectangular sticker, it may not translate well to a smaller, circular one. Pay attention to the fine details of the wedding sticker to ensure they work well with the photo being used. Nothing would be worse than using a beautiful engagement photo but having text over your faces!
Say “I Do” with Stomp
Customizing your own stickers can really make your wedding day even more magical and special – making them a must have accessory.
Check out Stomp’s amazing selection of customizable wedding stickers. They come in circle, rectangle, square, custom die, oval, and more shapes as well as removable or non-removable options. Stomp even has a handy online art tool that can help you customize the perfect design and instantly place your order.
Stomp will take care of the rest so you don’t have to worry. Contact us today and we can help you get started.
- Marketing Team

